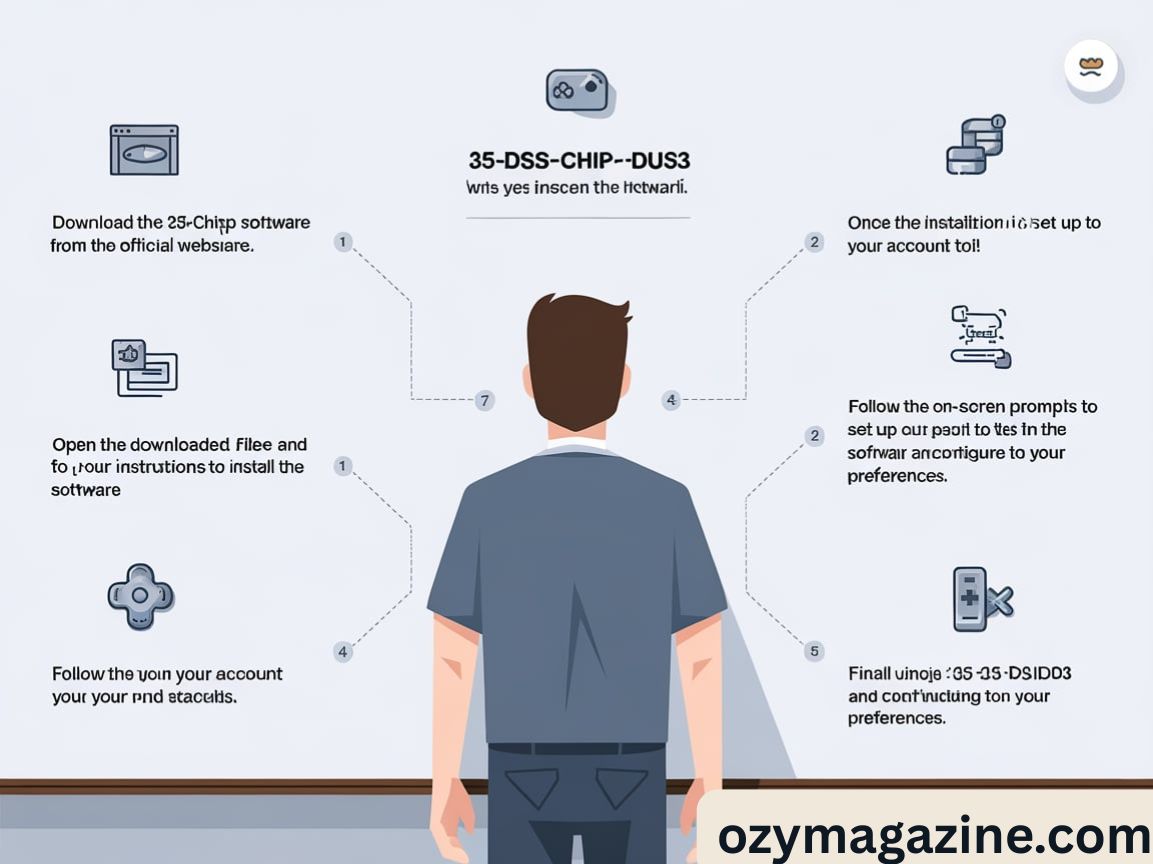
Learning how to install 35-ds3chipdus3 means understanding the steps to put this special chip into a system. It involves placing the chip carefully on the board and making sure it works right. This process is important for your device to run well.
If you want your computer or device to work faster and better, knowing how to install 35-ds3chipdus3 is key. Many people find this task tricky at first. But with the right guide, anyone can do it safely and correctly.
Installing the 35-ds3chipdus3 chip needs some tools and patience. You have to power off your system, find the right spot, place the chip carefully, and test it afterward. Following simple steps will help your chip work perfectly.
Profile Biographie Table
Before diving into the installation steps, it’s important to understand what the 35-ds3chipdus3 is and its significance. Below is a profile biography table summarizing key details about this chip:
| Feature | Description |
| Name | 35-ds3chipdus3 |
| Type | Microcontroller chip |
| Manufacturer | DS3 Technologies |
| Purpose | Enhances processing speed and system stability |
| Compatibility | Compatible with DS3 series motherboards and custom boards |
| Operating Voltage | 3.3V |
| Pin Count | 64 pins |
| Package Type | Surface Mount Device (SMD) |
| Typical Applications | Embedded systems, IoT devices, custom PC builds |
This chip is valued for its reliability and performance, making it a popular choice in advanced computing systems. Knowing its characteristics helps in understanding why proper installation is critical.
What Is the 35-ds3chipdus3?
The 35-ds3chipdus3 is a highly specialized microcontroller chip designed for optimizing data processing and improving the overall functionality of compatible systems. It plays a crucial role in enhancing system speed, reducing latency, and stabilizing hardware operations. This chip is often used in embedded systems, custom computer builds, and IoT devices where efficient processing and compact size are vital.
Its advanced design allows it to operate at low power consumption levels, which is especially important for devices requiring energy efficiency. The chip’s 64-pin configuration supports a variety of communication protocols, making it versatile and adaptable to different hardware needs. Understanding what the 35-ds3chipdus3 does helps you appreciate why meticulous installation is necessary.
Tools Required Before You Install
Before starting the installation, gathering the right tools is essential to ensure the process goes smoothly and safely. The following equipment will make the installation easier and reduce the risk of damaging the chip or your board.
You will need a precision screwdriver set to open your device, an anti-static wrist strap to prevent electrostatic discharge, and a magnifying glass or microscope for close inspection of the chip area. Additionally, a soldering iron with a fine tip or a chip socket (depending on your installation method), flux, tweezers, and cleaning alcohol with lint-free cloths are necessary. It’s also helpful to have thermal paste if your chip requires heat dissipation.
Each tool plays a vital role. For example, an anti-static wrist strap protects the sensitive chip from static electricity, which can cause irreversible damage. Proper tools not only make the installation easier but also protect your investment in this valuable component.
Step 1: Power Down the System
One of the most important safety steps before starting the installation of the 35-ds3chipdus3 chip is to completely power down your system. This means shutting off the device and unplugging it from any power source. Even if your system is off, residual power can still be present in capacitors and circuits, so it’s a good idea to wait a few minutes after powering down to allow any stored energy to dissipate.
This step cannot be overstated; working on live or semi-live circuits can cause serious electrical shocks or permanent damage to your device. Once powered down, place your device on a clean, static-free workspace where you can safely proceed to the next steps.
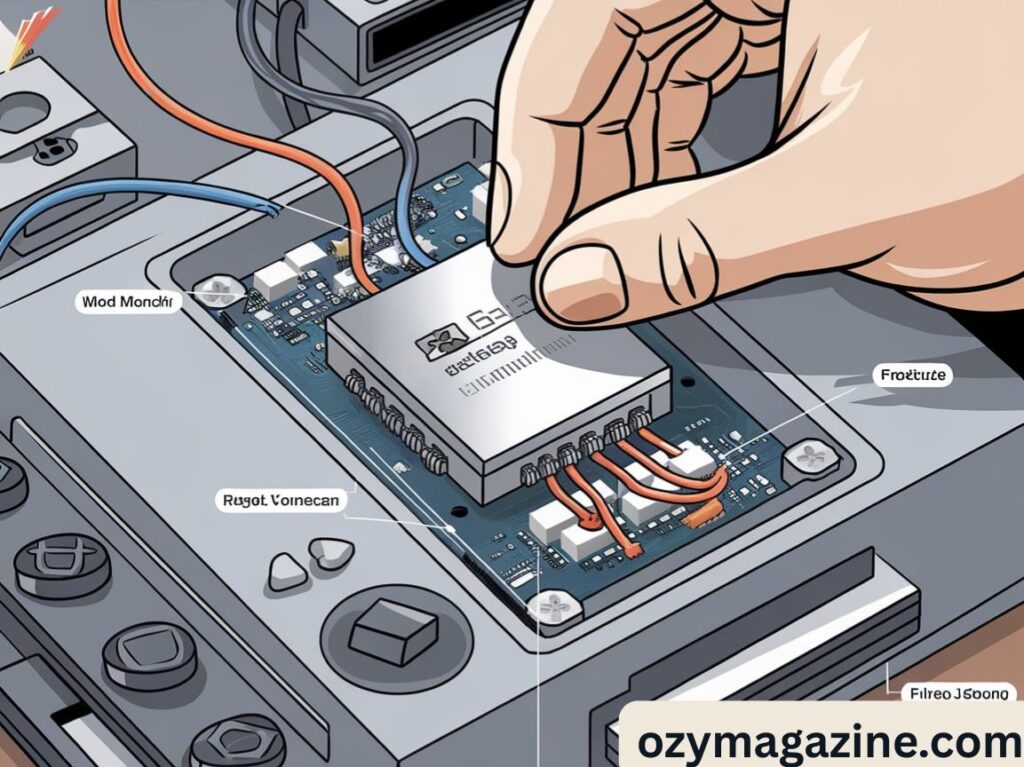
Step 2: Locate the Chip Area on Your Board
After powering down your system, the next step in the 35-ds3chipdus3 installation guide is locating the exact area on your circuit board where the chip will be installed. Depending on your system’s make and model, the chip area might be clearly labeled or require consultation with a technical schematic or manual.
Typically, the spot for the 35-ds3chipdus3 is near the central processing unit or a dedicated microcontroller section. Use your magnifying glass or microscope to inspect the board carefully. Look for a 64-pin socket or an empty footprint that matches the chip’s pin configuration. This area should have clearly marked pads or sockets designed to hold the chip securely.
Taking the time to identify the right spot ensures that you do not install the chip incorrectly, which can lead to hardware failure or poor performance.
Step 3: Orientation and Placement
Correct orientation and placement of the 35-ds3chipdus3 chip are critical for proper functioning. The chip’s pins must align perfectly with the board’s corresponding pads or socket. Most chips have a marking—often a dot or notch—that indicates pin 1, which should align with the pin 1 indicator on the board.
Incorrect orientation can cause short circuits or damage both the chip and the motherboard. Before placing the chip, double-check the pin alignment and make sure you are familiar with the chip’s datasheet for accurate placement.
The chip should be placed gently, with even pressure applied to avoid bending pins or damaging the chip body. Using tweezers is recommended for precision handling during this step.
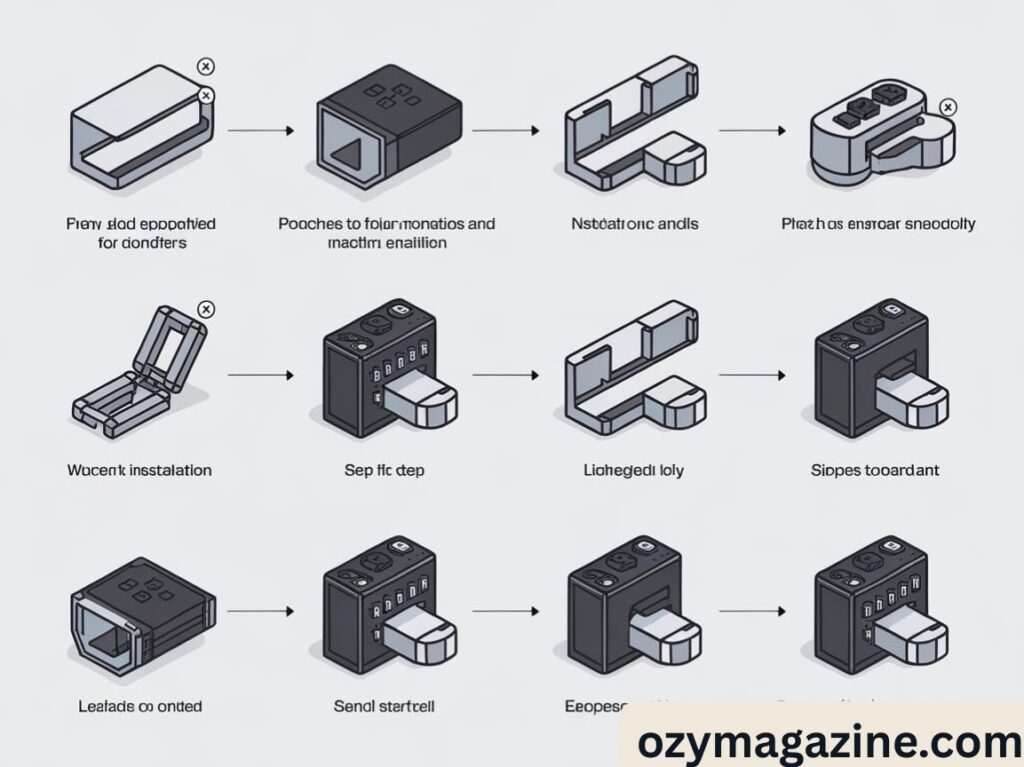
Step 4: Socket or Solder the Chip
Depending on your system’s design, the 35-ds3chipdus3 chip can either be inserted into a socket or soldered directly onto the board. Socketed installation is simpler and allows for easier chip replacement in the future, but not all boards have sockets.
If your board has a socket, carefully insert the chip by aligning the pins and pressing it evenly until it fits snugly. If you need to solder the chip, use a fine-tip soldering iron and flux to carefully attach each pin to its pad. Proper soldering requires a steady hand and adequate experience, as excessive heat or solder can cause bridges or cold joints, leading to poor connections.
After soldering, inspect each joint carefully to ensure they are shiny and smooth, indicating good connections.
Step 5: Inspect and Clean the Area
Once the chip is installed, it’s essential to inspect and clean the area. Use your magnifying glass or microscope to look for any solder bridges, bent pins, or loose connections. Clean the board with isopropyl alcohol and a lint-free cloth to remove any flux residue or dust particles.
A clean chip area prevents corrosion and ensures better thermal and electrical performance. This step also helps you catch any installation mistakes before powering on your system, potentially saving you from costly repairs.
Step 6: Reassemble and Test
With the chip securely in place and the board cleaned, reassemble your system carefully. Make sure all connectors and screws are tightened properly. Once reassembled, plug in your system and power it on.
Testing is vital to ensure that the chip is functioning correctly. During startup, watch for any unusual noises, error messages, or failure to boot, which could indicate installation issues. You can also run diagnostic software designed for your system to check if the 35-ds3chipdus3 chip is recognized and operating as expected.
Step 7: Verify Functionality of the Chip
Verifying the functionality of your installed 35-ds3chipdus3 chip goes beyond simply powering on the system. Use specialized software tools that monitor chip performance, temperature, and signal integrity to confirm the chip is working properly. These tools provide real-time feedback and can alert you to any anomalies.
Additionally, stress testing your system with applications that rely heavily on processing power can help ensure the chip maintains stable operation under load. If your system passes these tests without issue, congratulations — your installation was successful!
Why Correct Installation Matters
Correct installation of the 35-ds3chipdus3 chip is crucial for system reliability and performance. Incorrect installation can lead to hardware failure, system instability, and even permanent damage to your motherboard or other components. The chip’s delicate pins and sensitive circuits require precise handling.
Moreover, improper installation can void warranties and cause extended downtime if repairs are needed. In professional and industrial settings, such errors can have costly consequences. By following this step-by-step guide, you minimize risks and ensure your system performs at its best.
Read Also : Ftasiastock Market Trends from FintechAsia – A Complete Guide
Tips for a Smooth Installation
To make the installation process of the 35-ds3chipdus3 smoother, always work in a clean, organized environment free from static electricity. Using an anti-static wrist strap and mat is highly recommended to protect sensitive electronics. Take your time and never rush the steps—precision is more important than speed.
Make sure to read the chip and board manuals thoroughly. If you are uncertain about any step, consult online forums or technical support before proceeding. Keeping a checklist during installation can help you stay organized and avoid missing any crucial actions.
Buying Guide for 35-ds3chipdus3
When purchasing the 35-ds3chipdus3 chip, consider authenticity and compatibility. Only buy from reputable suppliers or directly from DS3 Technologies to avoid counterfeit products. Verify that the chip matches your system’s specifications, especially voltage and pin configuration.
Check for warranty options and return policies. Sometimes cheaper chips might save money upfront but cost more in failures or replacements. Compare prices carefully and choose a product with positive user reviews.
Common Issues When Installing
Common problems encountered when installing the 35-ds3chipdus3 chip include bent or broken pins, incorrect orientation, poor solder joints, and static damage. These issues often arise from rushing the process or lack of proper tools.
Another frequent issue is failing to properly clean flux residues, which can lead to corrosion over time. Misalignment during placement can cause system failure or intermittent errors. Understanding these problems beforehand can help you avoid them and achieve a successful installation.
Understanding the Role of 35-ds3chipdus3 in Modern Systems
The 35-ds3chipdus3 chip plays a pivotal role in enhancing the performance of modern computing devices. It handles critical processing tasks that help reduce lag and improve data throughput. This makes it a preferred choice for developers and engineers across the USA.
By integrating this chip, systems gain better stability and energy efficiency. Its design supports various communication protocols, enabling it to fit into diverse applications from embedded devices to custom PC builds. Knowing its importance will motivate careful installation.
Preparing Your Workspace for a Safe Installation
A clean and organized workspace is essential before starting the installation of the 35-ds3chipdus3. Remove any clutter and ensure you have all tools at hand to prevent disruptions during the process. This preparation helps maintain focus and reduces errors.
Additionally, grounding yourself with an anti-static wrist strap is critical to avoid damaging the chip with static electricity. Having proper lighting and magnification tools will further help you handle the tiny pins with precision and care.
Common Mistakes to Avoid During Installation
Many installation problems stem from simple mistakes such as improper orientation or insufficient cleaning after soldering. Ensuring that the chip aligns perfectly with the board pins can prevent costly damage. Take time to verify alignment before securing the chip.
Another frequent error is rushing the soldering process, leading to poor connections or solder bridges. Careful, steady soldering and thorough inspection afterward will safeguard against these issues and help maintain optimal chip performance.
Post-Installation Testing: Ensuring Everything Works

After installing the 35-ds3chipdus3, it’s crucial to run thorough tests to confirm the chip functions as expected. Diagnostic software tools can provide detailed reports on chip status and detect faults early. This step avoids surprises down the road.
Testing under real-world conditions, such as running resource-intensive applications, helps ensure stability. Monitoring temperature and performance metrics during this phase will alert you to any potential problems needing immediate attention.
Where to Buy Genuine 35-ds3chipdus3 Chips in the USA
Sourcing authentic 35-ds3chipdus3 chips is vital to guarantee quality and compatibility. Purchase only from trusted suppliers or authorized DS3 dealers within the USA. This reduces the risk of counterfeit or faulty products.
Researching customer reviews and checking warranty options also helps in making informed decisions. Buying genuine chips ensures you get the performance and reliability necessary for your projects or systems.
Conclusion
Installing the 35-ds3chipdus3 chip correctly is essential for ensuring your system runs smoothly and efficiently. By carefully following each step—from preparing your workspace and understanding the chip’s role to precise placement and thorough testing—you can avoid common pitfalls and enjoy the full benefits this powerful component offers. Patience, attention to detail, and the right tools are your best allies in this process.
Remember, investing time in proper installation not only protects your hardware but also extends its lifespan and performance. Whether you’re a hobbyist or professional in the USA, mastering the installation of the 35-ds3chipdus3 chip will give you confidence in handling advanced hardware projects with success.